Automation Studio
Your visual workspace for building powerful automations. The Automation Studio lets you create, edit, and manage workflows with drag-and-drop simplicity—no coding required.
New to the studio? Don’t worry—we’ll walk you through each part of the interface and show you how everything works together.
Studio Layout
The Automation Studio is organized into six main areas, each serving a specific purpose in your workflow-building journey.
1. Left Navigation Panel
Your command center for workflow-level controls and information.
🏠
Navigate back to your dashboard
📋
View your workflow’s structure at a glance
⚙️
Configure workflow-level options
🕐
Track changes and restore previous versions
2. Top Menu Bar
Quick access to essential workflow controls and navigation.

Jump between workflows quickly
Current workflow you’re editing
Make your changes live
Turn workflow on or off
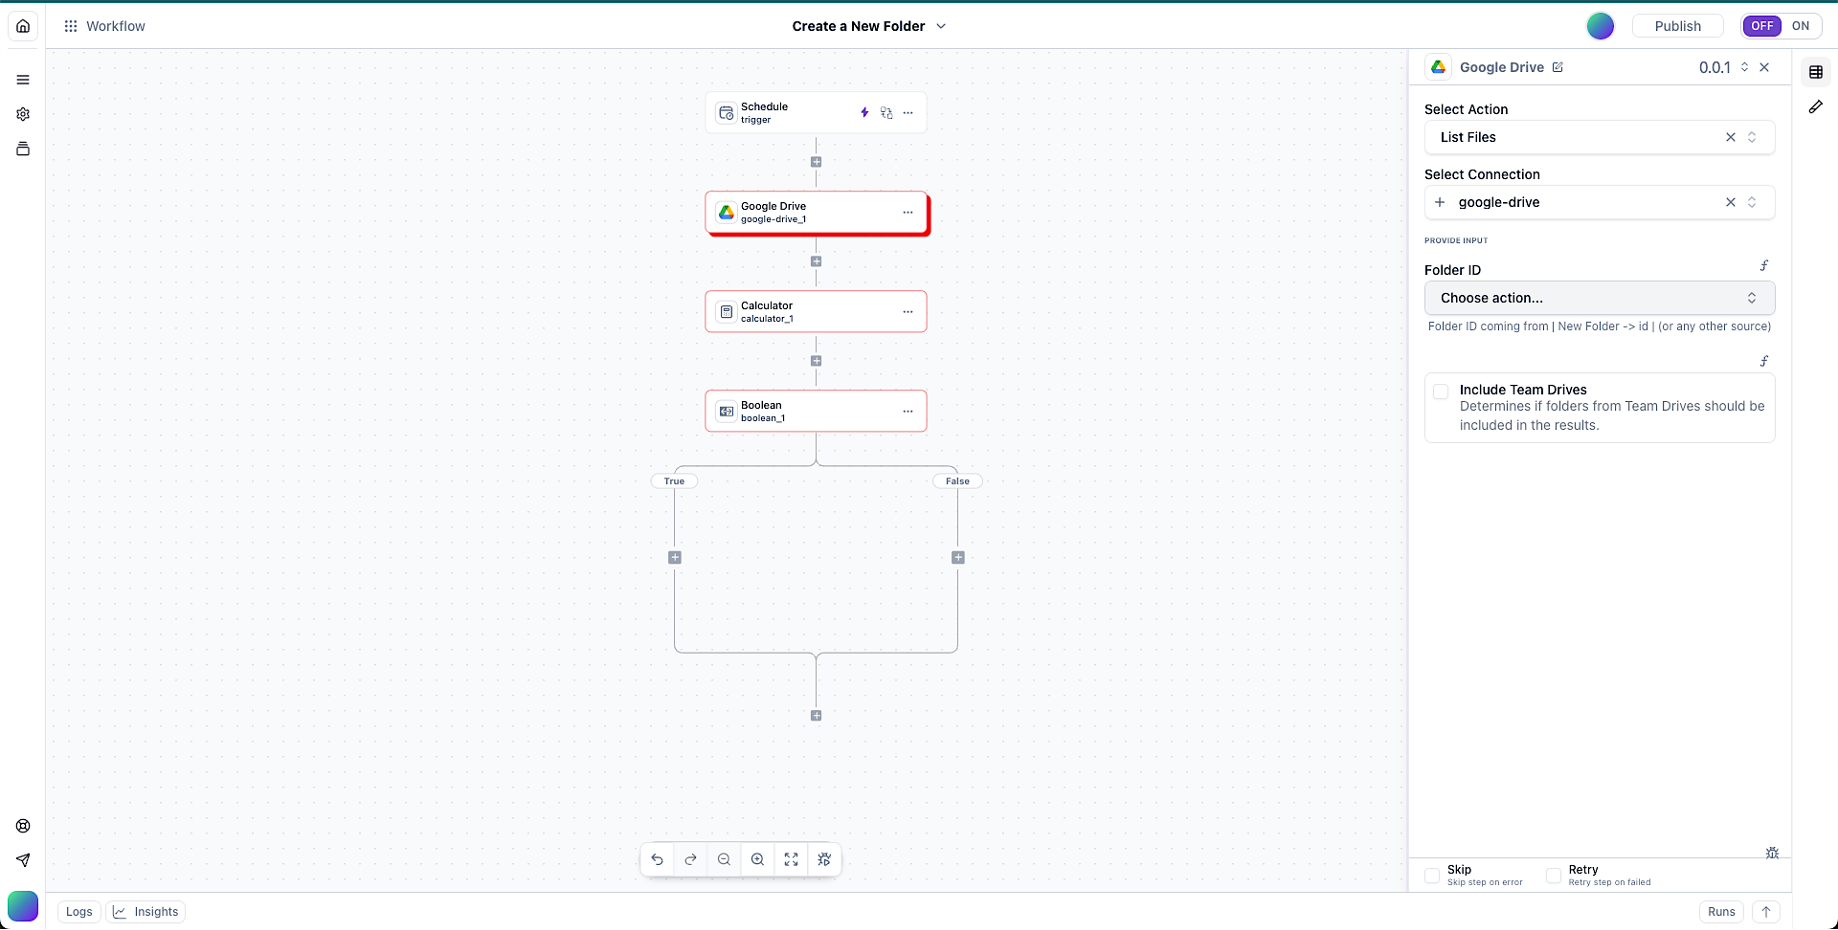
3. Main Canvas
The central workspace where you visually build your workflow by connecting components together.
⚡
The starting point that kicks off your workflow
🎬
Tasks performed when your workflow runs
🔀
Control flow with conditions and loops
🔗
Connections to external apps and services
4. Properties Panel
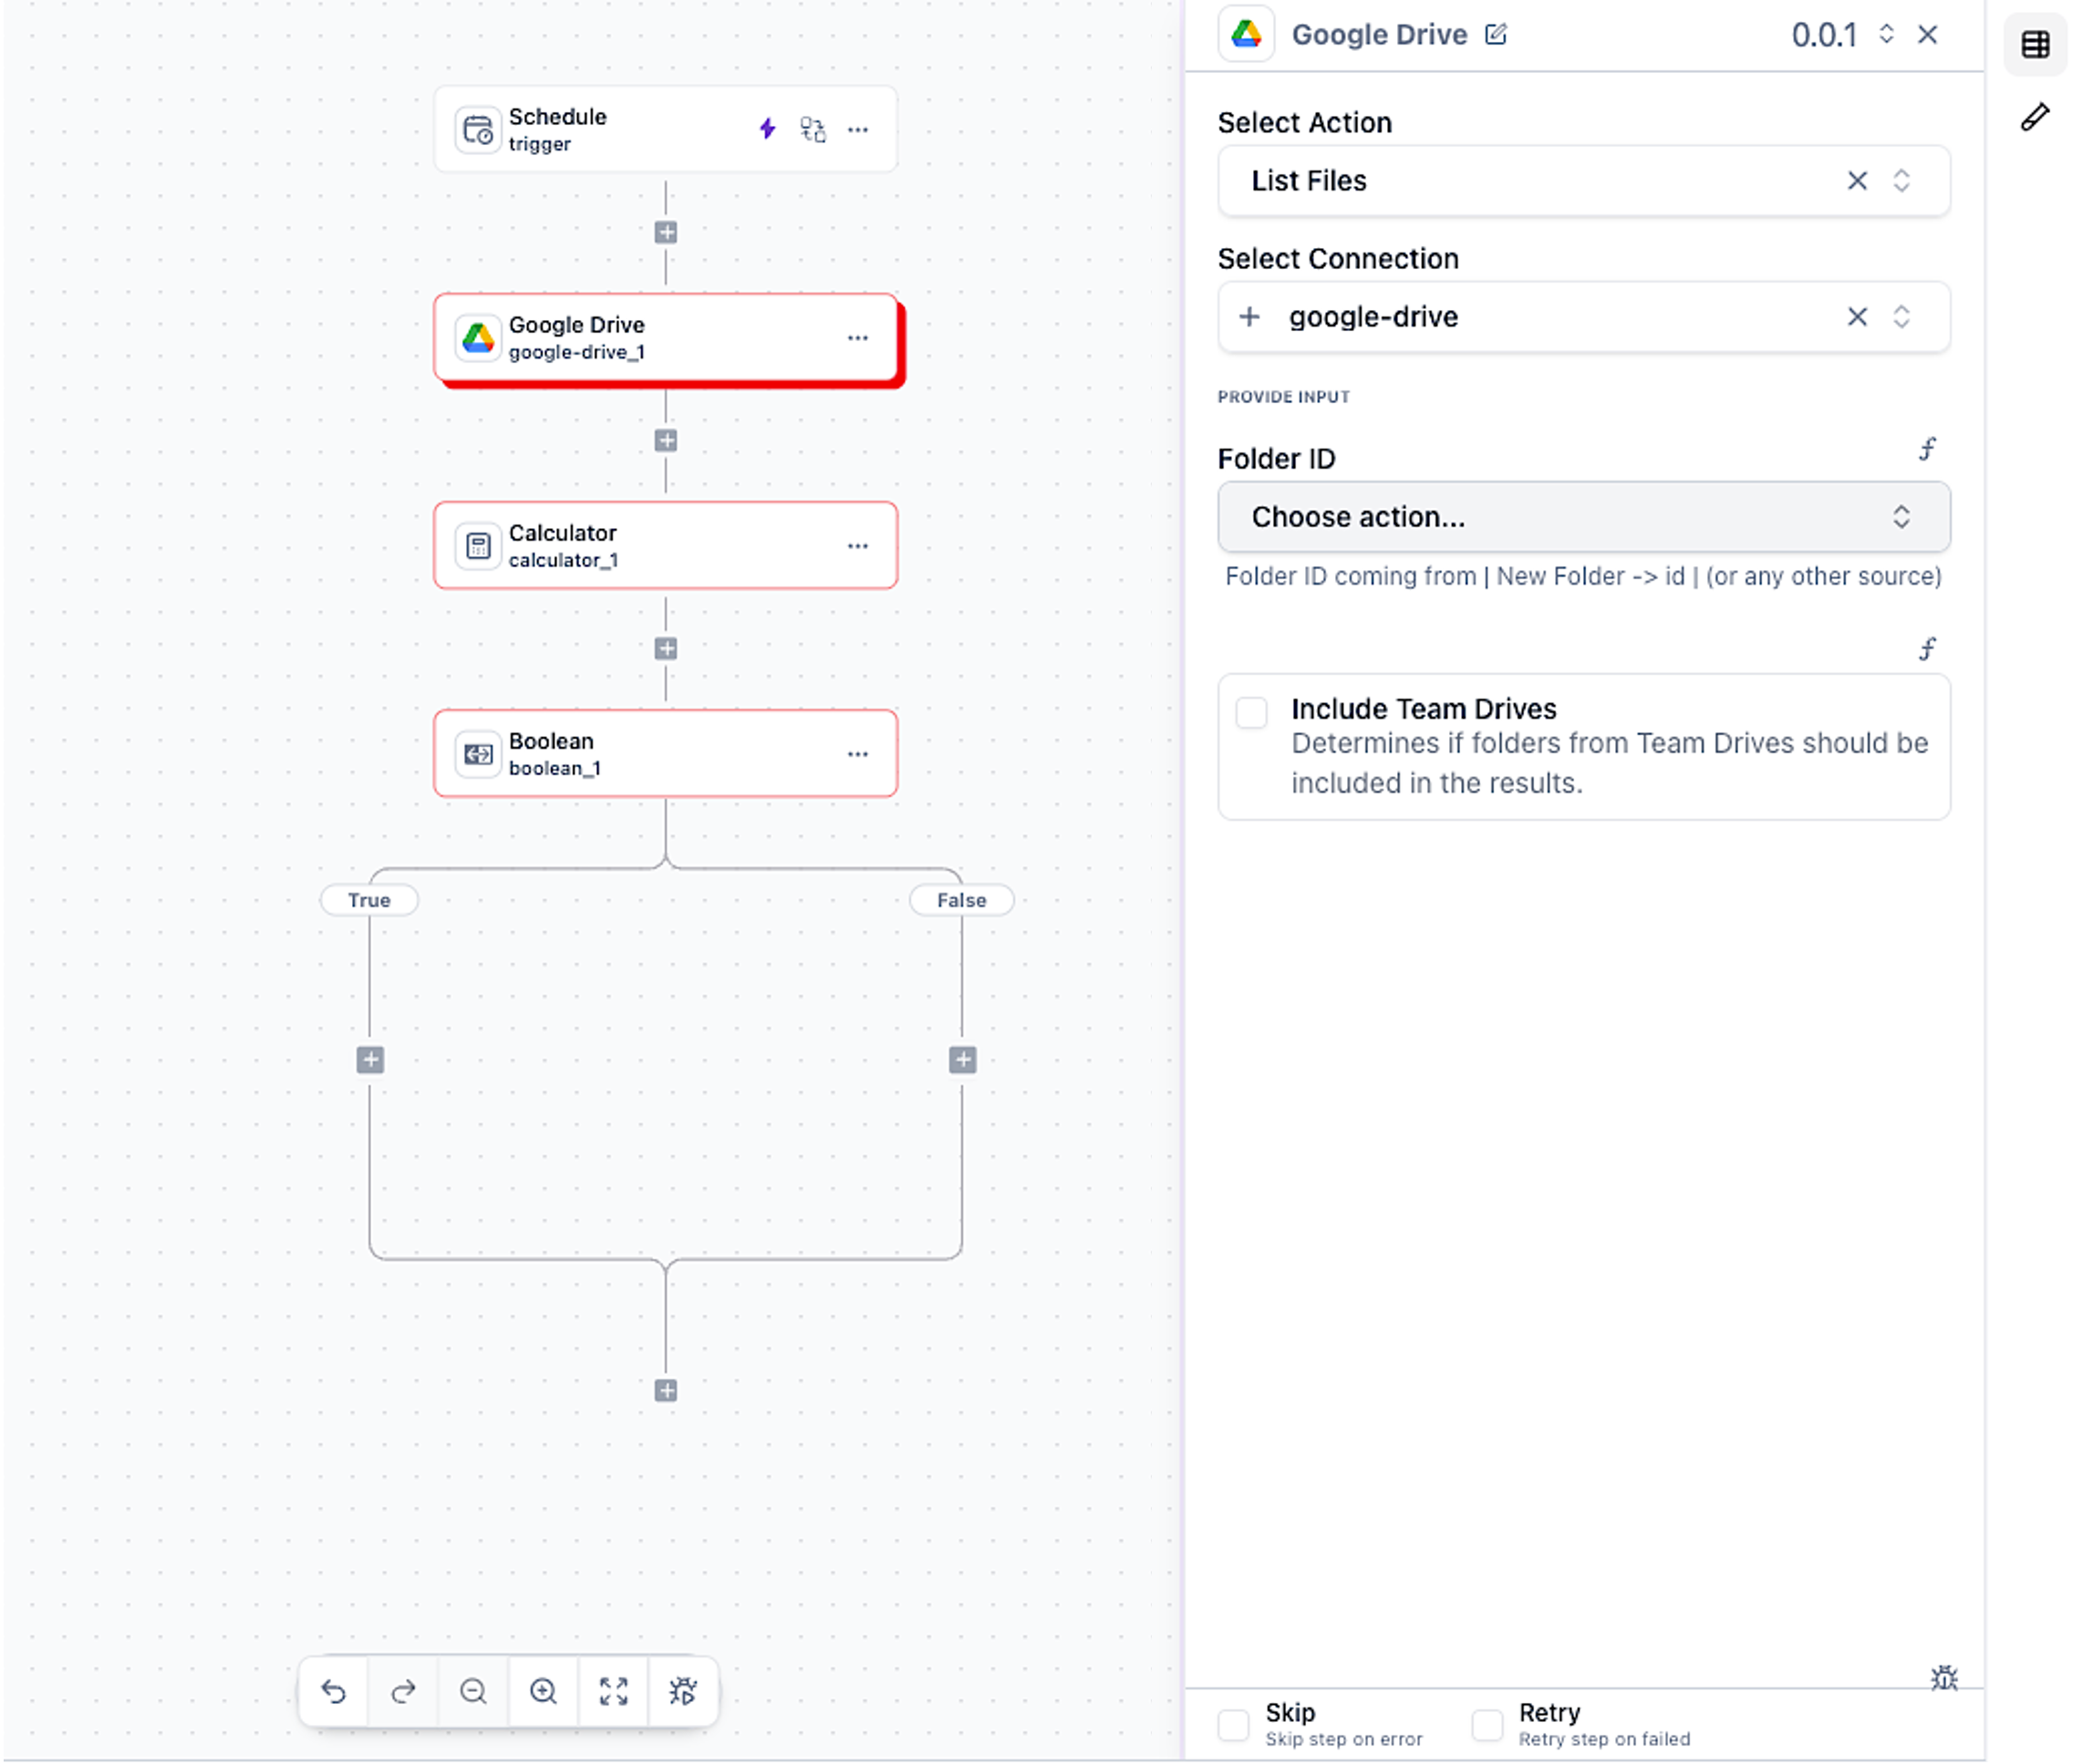
Click any component on the canvas and its configuration options appear here on the right.
Name, description, and core options
Additional configuration for power users
Connect data between workflow steps
Define what happens when things go wrong
Run tests on this specific component
5. Integrations Browser
Browse and connect to hundreds of apps and services. Click the ”+” button on the canvas to open the integrations browser.
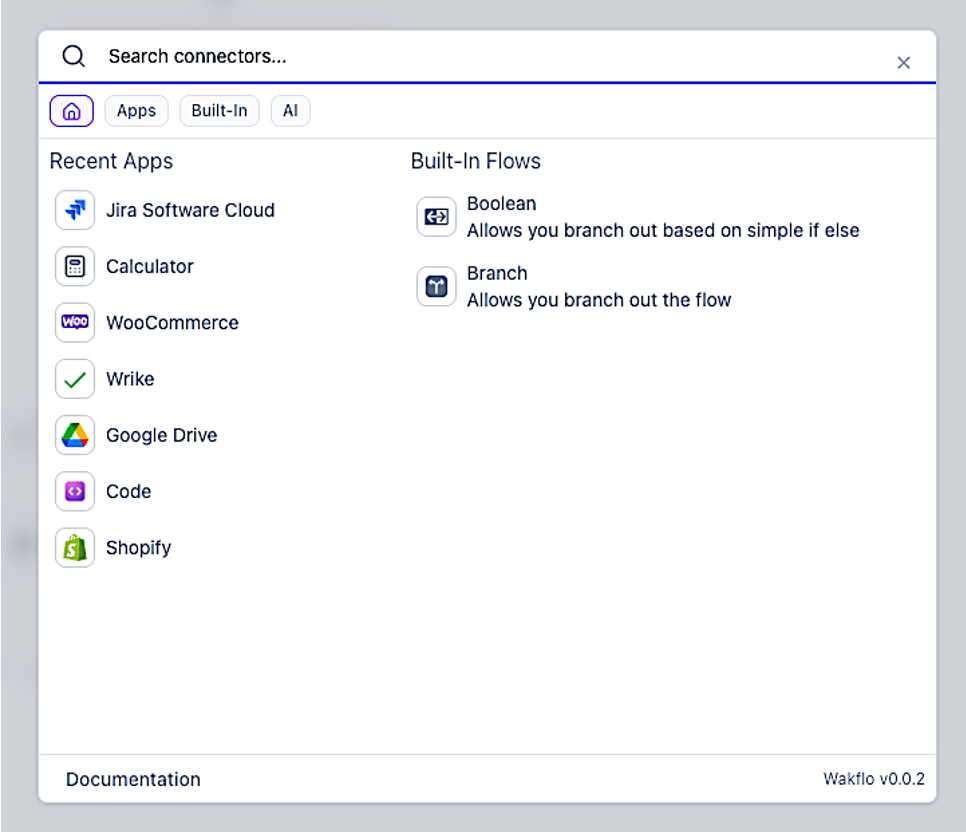
Built-In
Ecommerce
Productivity
Inventory
Shipping
Marketing
Project Mgmt
Support
…and many more
6. Monitoring Panel
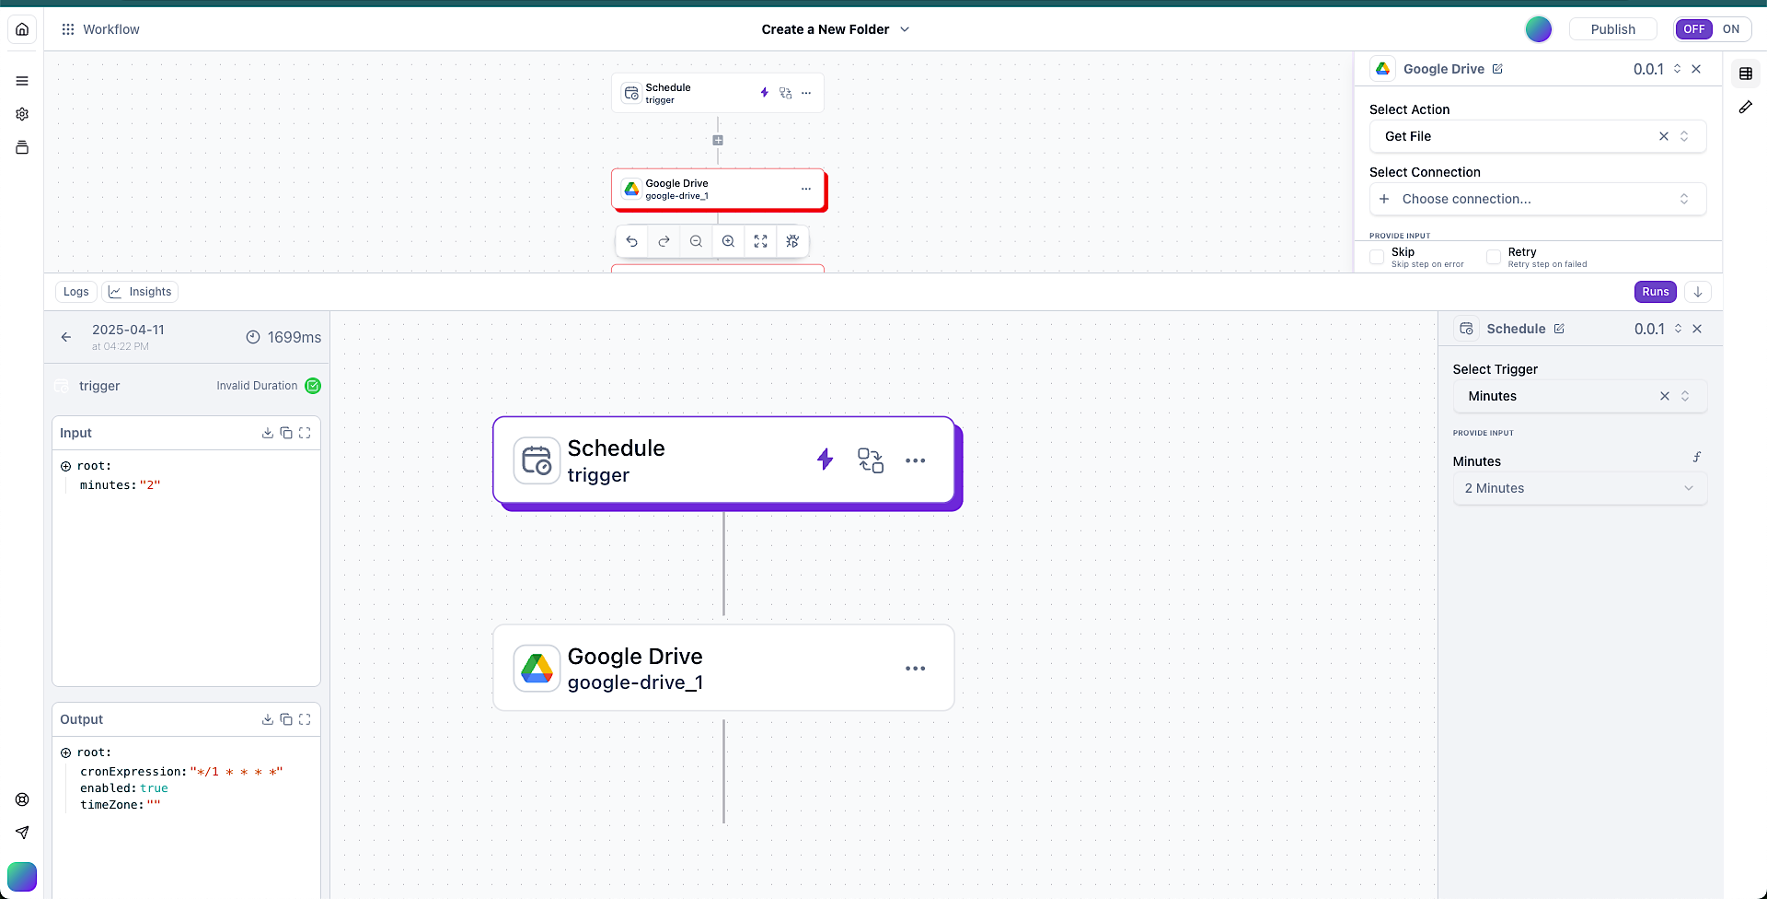
Track performance, debug issues, and optimize your workflows with comprehensive monitoring tools.
📊
High-level overview of workflow performance
▶️
Complete history of workflow executions
📝
Detailed step-by-step execution logs for debugging
📈
Performance metrics and usage trends
Building Blocks
Every workflow is made from these fundamental components. Let’s explore each one.
Triggers
The event that starts your workflow. Every workflow needs exactly one trigger.
🔔
Events from connected platforms like new orders, product updates, or inventory changes
⏰
Time-based triggers that run at specified intervals or specific times
🔗
Custom endpoints that receive data from external systems
👆
Start workflows on-demand through the dashboard or API
Actions
The tasks your workflow performs. Chain multiple actions together to build complex automations.
🎬
Operations on your connected platforms—create, update, or delete records
💻
Run custom code in Node.js or Go for advanced logic
🔄
Transform, filter, merge, or aggregate data
🌐
Interact with third-party APIs and web services
Logic Components
Control how your workflow flows based on conditions and data.
🔀
Branch your workflow based on specific criteria
🔁
Process lists of data, one item at a time
⏸️
Pause execution for a specified duration
🛡️
Define fallback actions when errors occur
Building Your Workflow
Follow this step-by-step process to create your automation.
Step 1: Add a Trigger
1
When you create a new workflow, you’ll be prompted to add a trigger
2
Select the Triggers tab in the integrations browser
3
Drag your desired trigger onto the canvas
4
Configure the trigger in the properties panel
5
Test it using the test button to verify it works
Step 2: Add Actions
1
Click the ”+” button below your trigger
2
Choose an integration and its associated action
3
Configure the action settings in the properties panel
4
Keep adding actions to build your workflow
Step 3: Add Logic (Optional)
1
Add conditions, loops, or other logic where needed
2
Configure the logic settings
3
Connect actions to different branches or paths
Step 4: Configure Data Mapping (Optional)
Transform and manipulate data between steps using mapping integrations.
1
Select a data mapping integration (JSON, CSV, etc.)
2
Configure the transformation in the properties panel
3
Test to ensure data flows correctly
Step 5: Code Execution (Optional)
1
Add the Code integration and select your language (Node.js or Go)
2
Write your custom code in the editor
3
Test the execution to verify it works
Advanced feature: Code execution requires programming knowledge. Make sure you understand what you’re doing.
Pro tip: Always use return and output valid JSON so subsequent steps can use your code’s results.
Workflow Controls
The toolbar gives you quick access to essential workflow management features.
Save current changes
Run with test data
Enable or disable
View execution history
Configure options
Restore previous versions
Advanced Features
Environment Variables
Store sensitive information and reusable values securely across workflows.
Navigate to Settings → Environment Variables
Create variables for API keys, URLs, or configuration values
Reference them in your workflow using {{env.VARIABLE_NAME}}
Debugging Tools
Troubleshoot issues with powerful debugging capabilities.
🧪
Test individual actions or the entire workflow safely
📝
View detailed logs of every workflow run
🔍
Examine data at each step with interactive visualization
Keep Exploring
Now that you know your way around the Automation Studio, dive deeper into specific features.