Quick Start
What you’ll build: A scheduled workflow that automatically creates folders in Google Drive every 2 minutes—perfect for learning the basics.
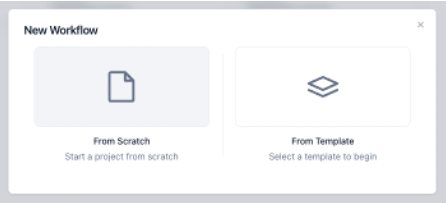
Step 1: Create Your Account
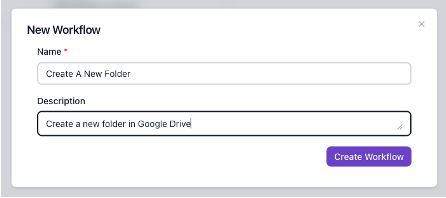
Step 2: Name Your Workflow
Try something like "My First Workflow" and describe what it does: "Creates test folders in Google Drive."
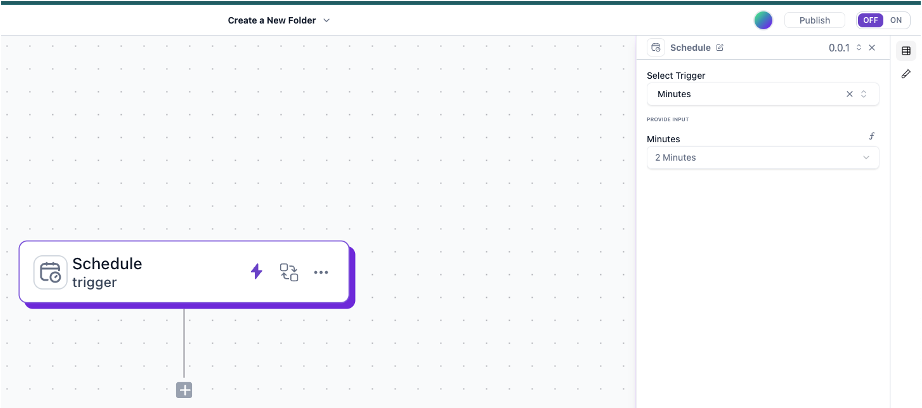
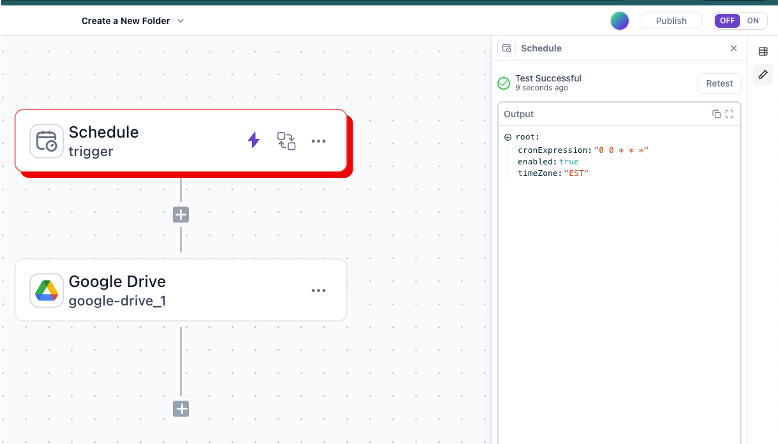
Step 3: Add Your Trigger

Click the trigger on the canvas to open the sidebar, then set it to run every 2 minutes.
Step 4: Connect Google Drive
Click the "+" button below your trigger, then select "Apps" and search for "Drive"
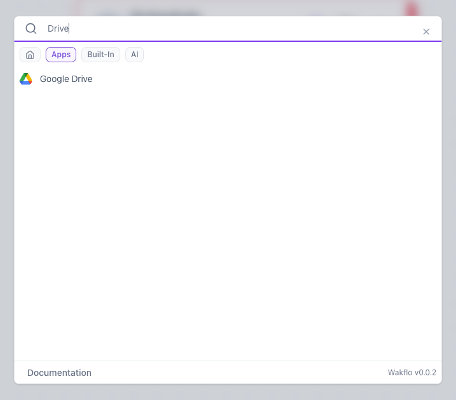
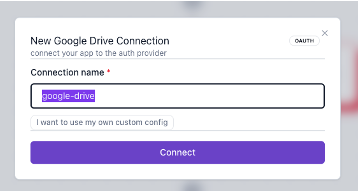
Select "Google Drive" and click the "+" under "Select Connection" to link your Google account.
Click "Connect" in the dialog and follow Google's authorization flow.
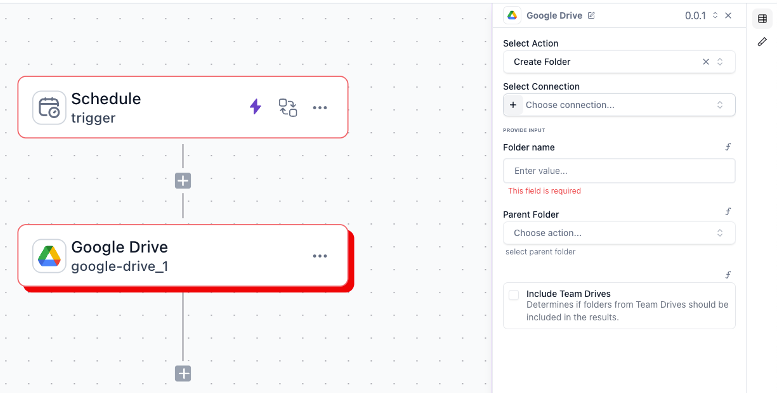
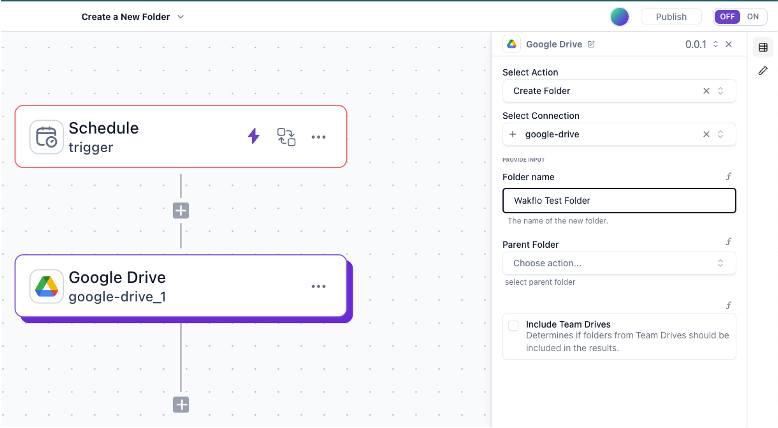
Step 5: Configure the Action
In the Google Drive integration, select the "Create Folder" action and give it a name like "Wakflo Test Folder"
Step 6: Test Everything
Click the test icon in the right sidebar for each workflow step, then click "Test" or "Retest"
Step 7: Publish & Activate
Click "Publish" in the top right corner and confirm when prompted. Then toggle the workflow to ON if it isn't already.

You’re going live! After publishing, your workflow will process real data and perform actual actions in Google Drive. Double-check everything first.
Success! Check your Google Drive—you should see new folders named “Wakflo Test Folder” appearing every 2 minutes.
Remember to turn it off! Use the toggle switch to stop the workflow after 2-4 minutes, or you’ll keep creating folders indefinitely.
What You Just Built
You've just created your first automated workflow with Wakflo. You now understand the basics of triggers, integrations, actions, testing, and publishing.
This simple example demonstrates the core workflow pattern you'll use to automate all kinds of business processes—from order fulfillment to customer notifications to inventory management.